📄 Download English instructions
📄 Download German instructions
📄 Download French instructions
APPLYING POLYGEL
Polygel is a fantastic product for creating beautiful and strong nails. Polygel is a hybrid between gel and acrylic, giving it the strength of acrylic and the flexibility of gel. In this instruction blog, we offer you an extra-detailed step-by-step guide on how to apply and remove Polygel.

STEP 1: Nail preparation
Proper nail preparation is very important when applying polygel. Therefore, treat your nails as you would when applying gel polish. File your nails where necessary with a good nail file, gently push back the cuticles, and remove the shine from the nail surface with the file.
STEP 2: Applying base coat
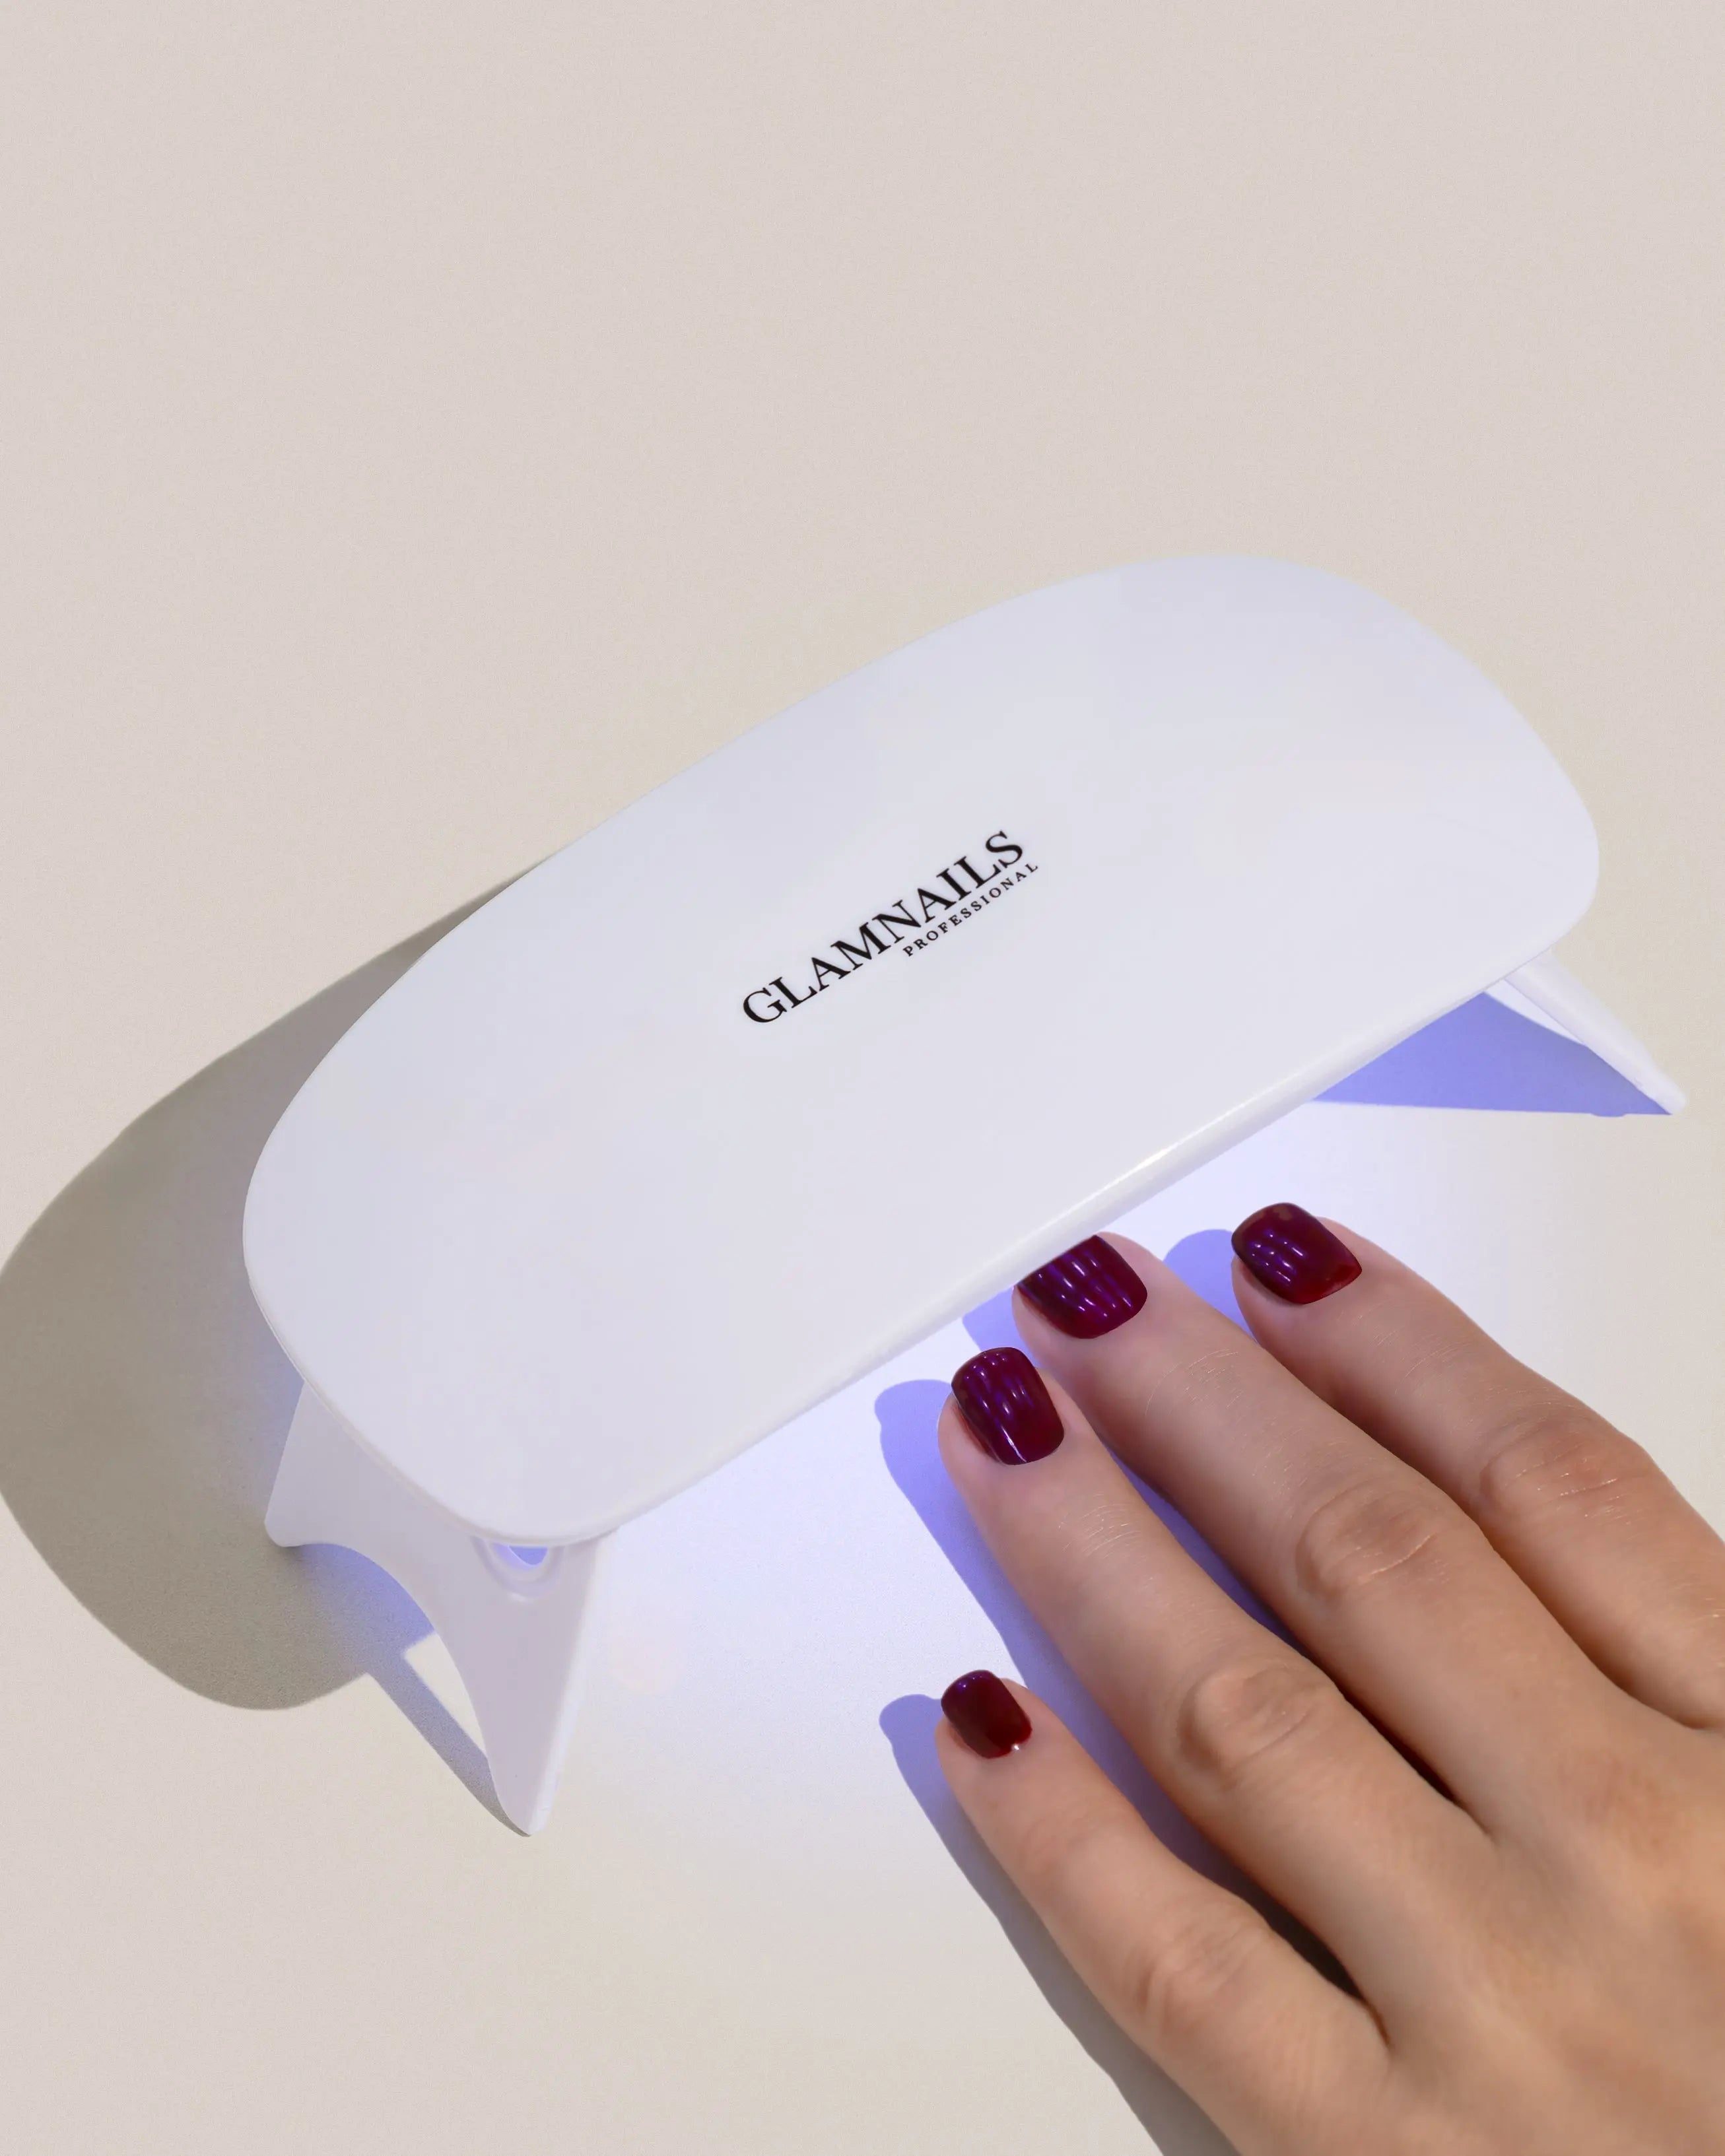
Apply Basecoat - Apply a thin layer of base coat to your nails and cure under an LED lamp for 60 seconds. Base coating helps the polygel adhere better to your nails.
STEP 3/4: ‘Sandwiching’ Polygel
Applying polygel is also known as the sandwich technique because the polygel sits between your natural nail and the nail tip like a sandwich. There are 2 methods, but we recommend the following one because it provides better distribution and the least chance of air bubbles.
METHOD 1 - see step 5 in the video at the bottom of the page
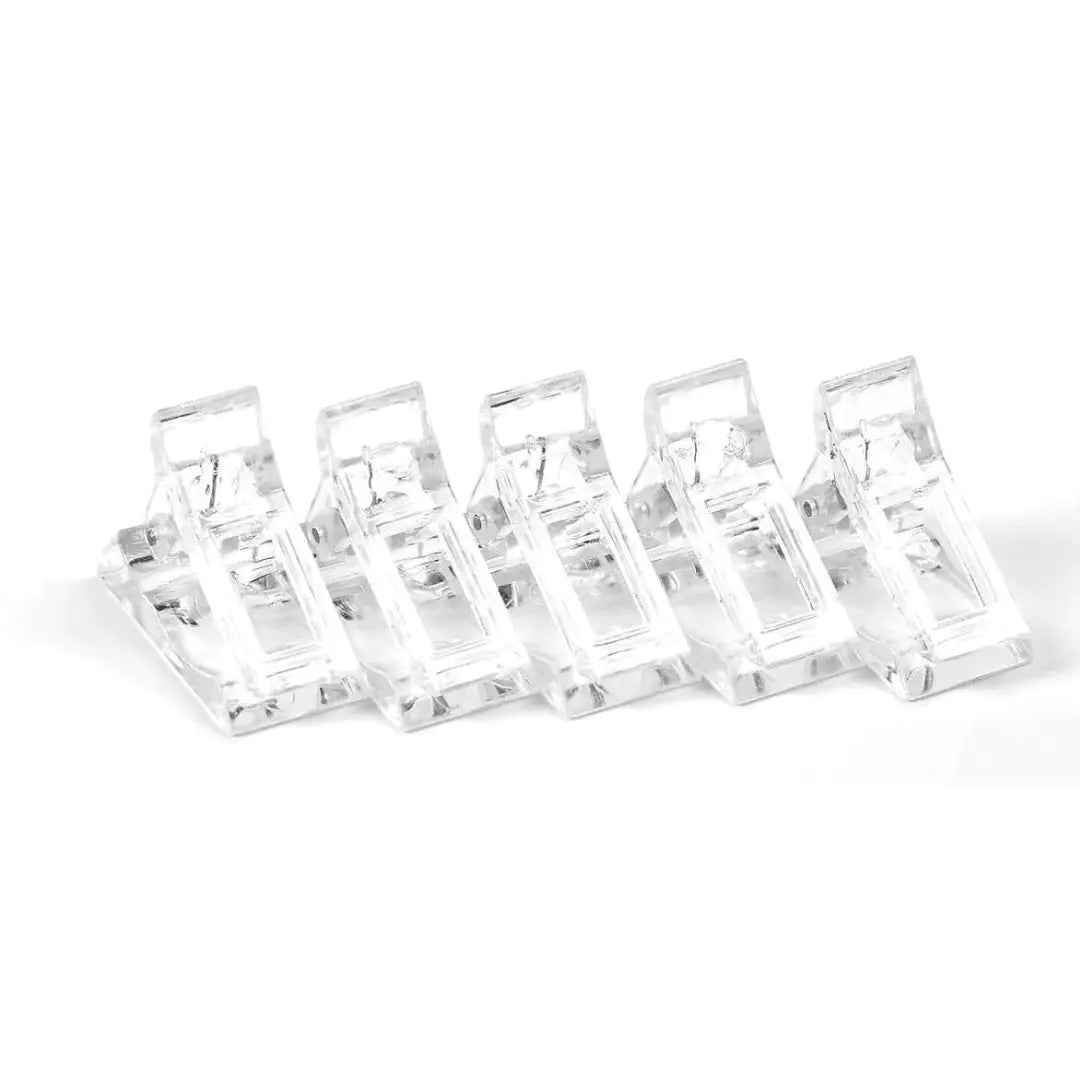
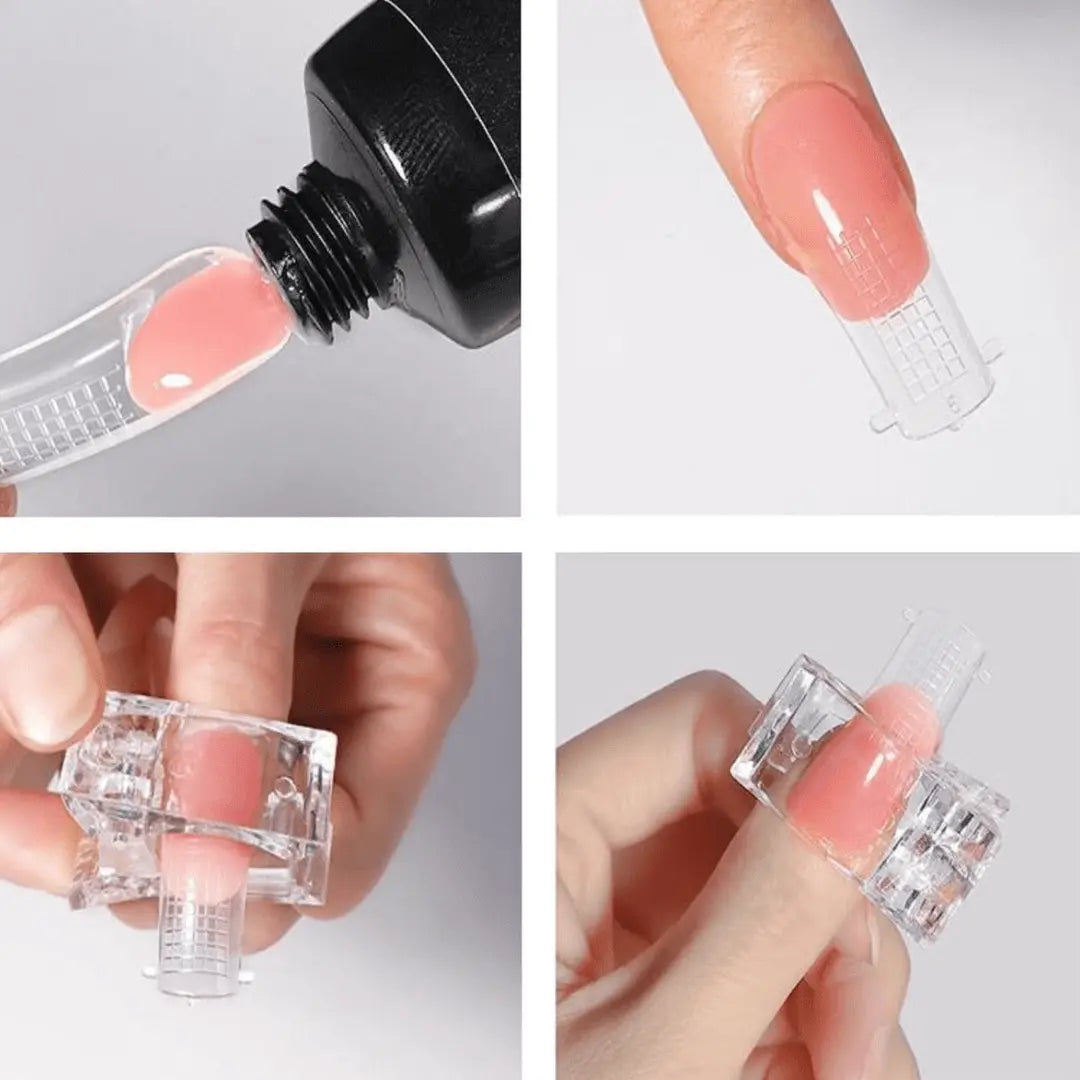
Push a pea-sized amount of polygel (depending on the size of your own nail) out of the tube and gently press it onto your nail. Then take the nail tip and press it evenly over the polygel from the cuticle, so that the polygel forms itself along the length of the nail tip. Now place the included nail clamp over the tip to hold it firmly in place.
TIP: Do not press too hard, as this can cause air to get underneath or push the gel outside the sides of the tip.
METHOD 2 - see step 5 in the video at the bottom of the page
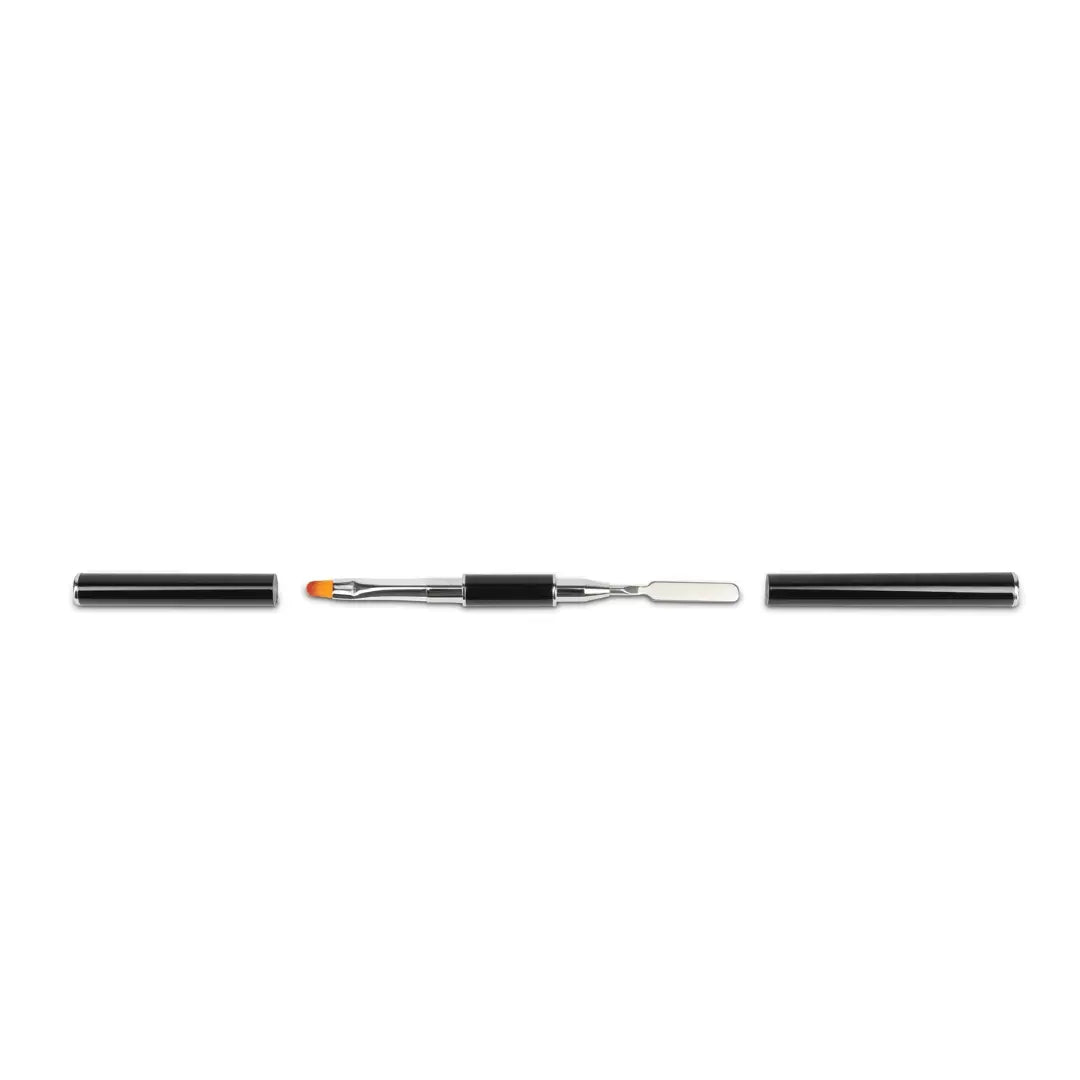
Take a pea-sized amount of polygel from the tube and place it in the nail tip. Dip the brush of the multitool into the slip solution and shape the polygel to the desired thickness and length. Make sure you do not apply the polygel too thinly or too thickly, and that it tapers nicely and thinly near the cuticle. Then place the nail tip on your nail, press it down gently, and use the included nail clamp to hold the tip neatly in place.
STEP 5: Perfecting the Polygel
Now that you have placed the tip, dip the brush into some slip solution and remove any excess polygel along the cuticle. You can also continue modelling the gel in the tip until you achieve the desired thickness and length.
STEP 6/7: Curing and removing the tip
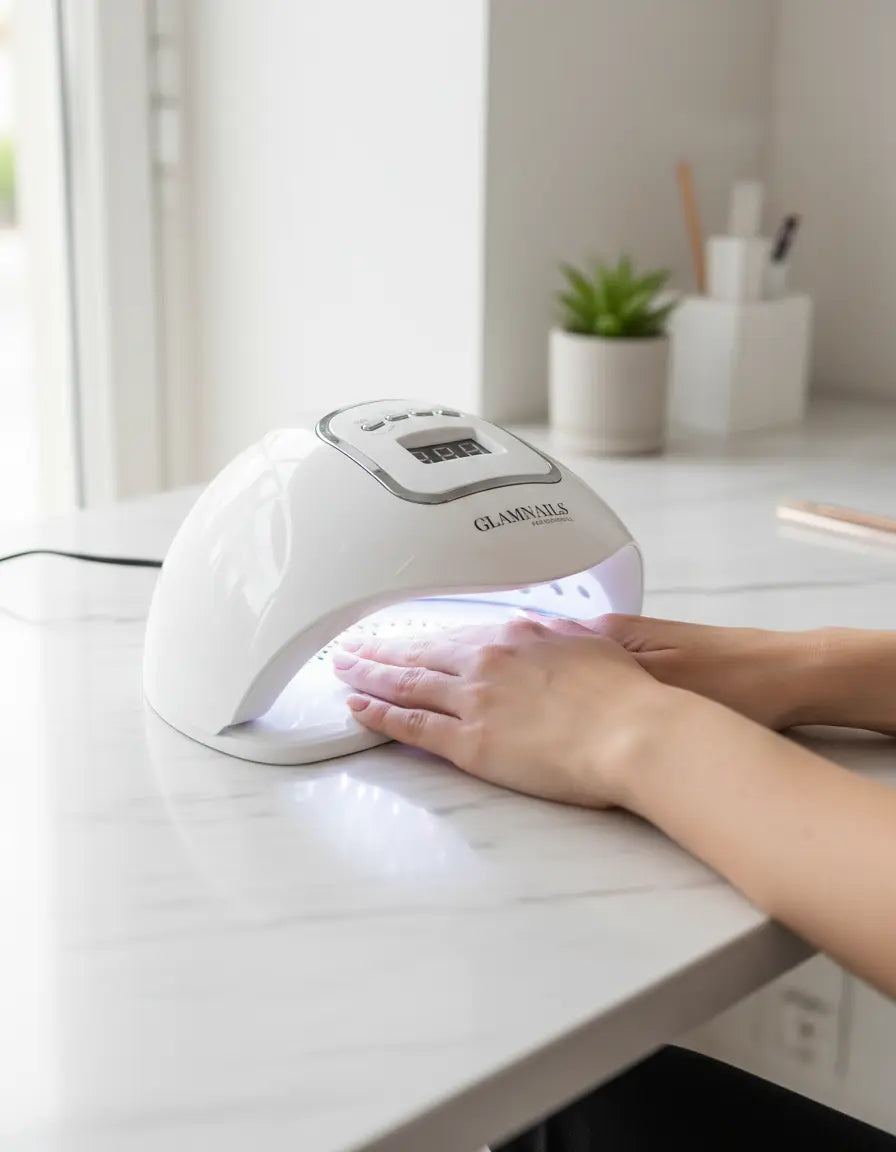
Once you are satisfied with the shape of your nails, cure the polygel under an LED lamp for 60 seconds. Then carefully loosen the nail tip by gently moving it back and forth away from your nail. If desired, cure once more without the tip for extra adhesion.
STEP 8: Finishing
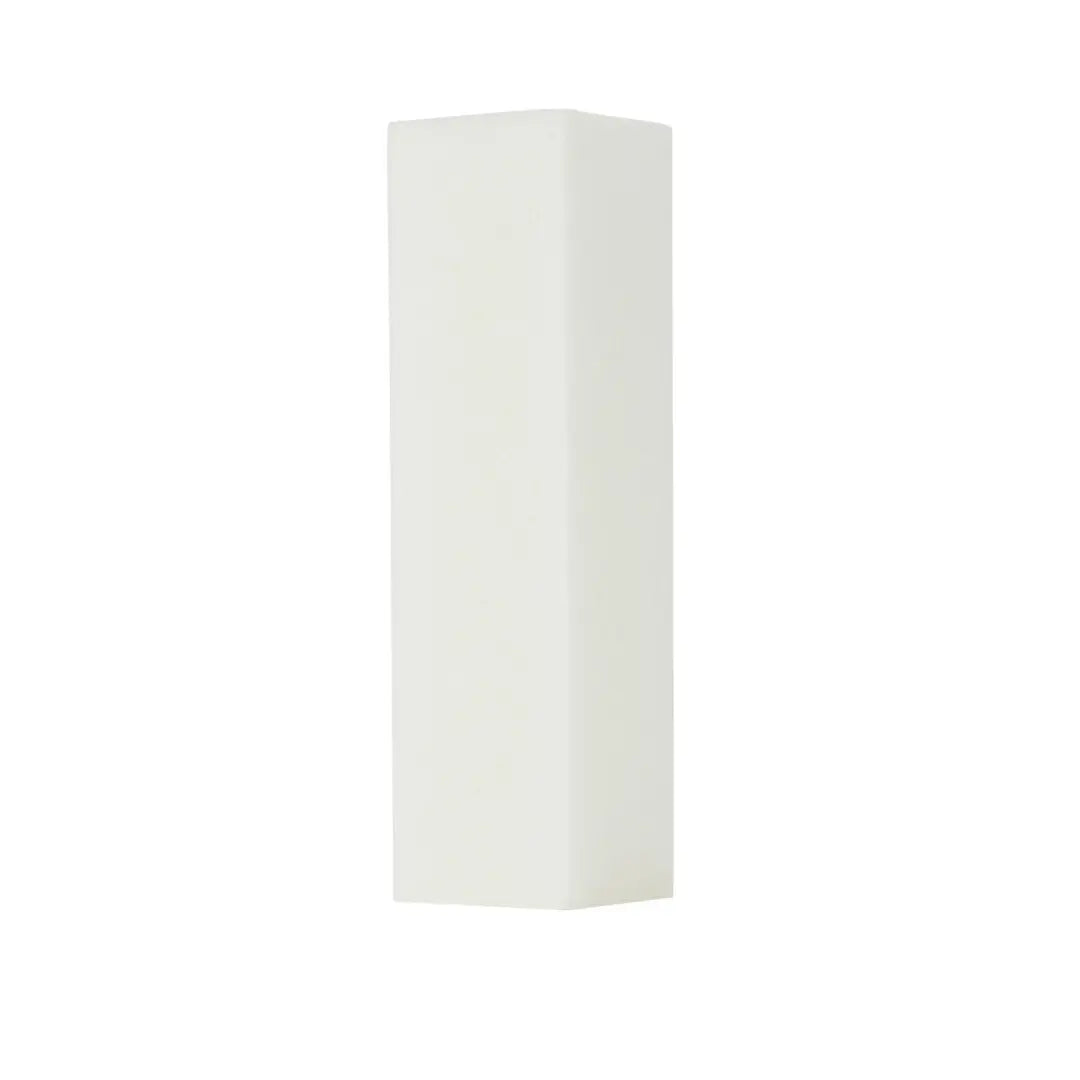
Once the polygel has fully cured, you can further perfect the shape of your nails with the file. File carefully and gradually in one direction until you achieve the desired shape. Do not file too hard to avoid damaging the nail. You can optionally buff the surface with a buffer since a top coat will be applied for shine in the next step.
STEP 9: Finishing touch
Finally, apply a thin layer of top coat to protect your nails and give them shine. The Top Coat also needs to be cured under the LED Lamp.
SAVING TIP: Order a starter set and get all the tools you need for the perfect manicure at once! This way, you will never need an expensive salon treatment again and can easily create your own designs from home whenever you like!

REMOVING POLYGEL
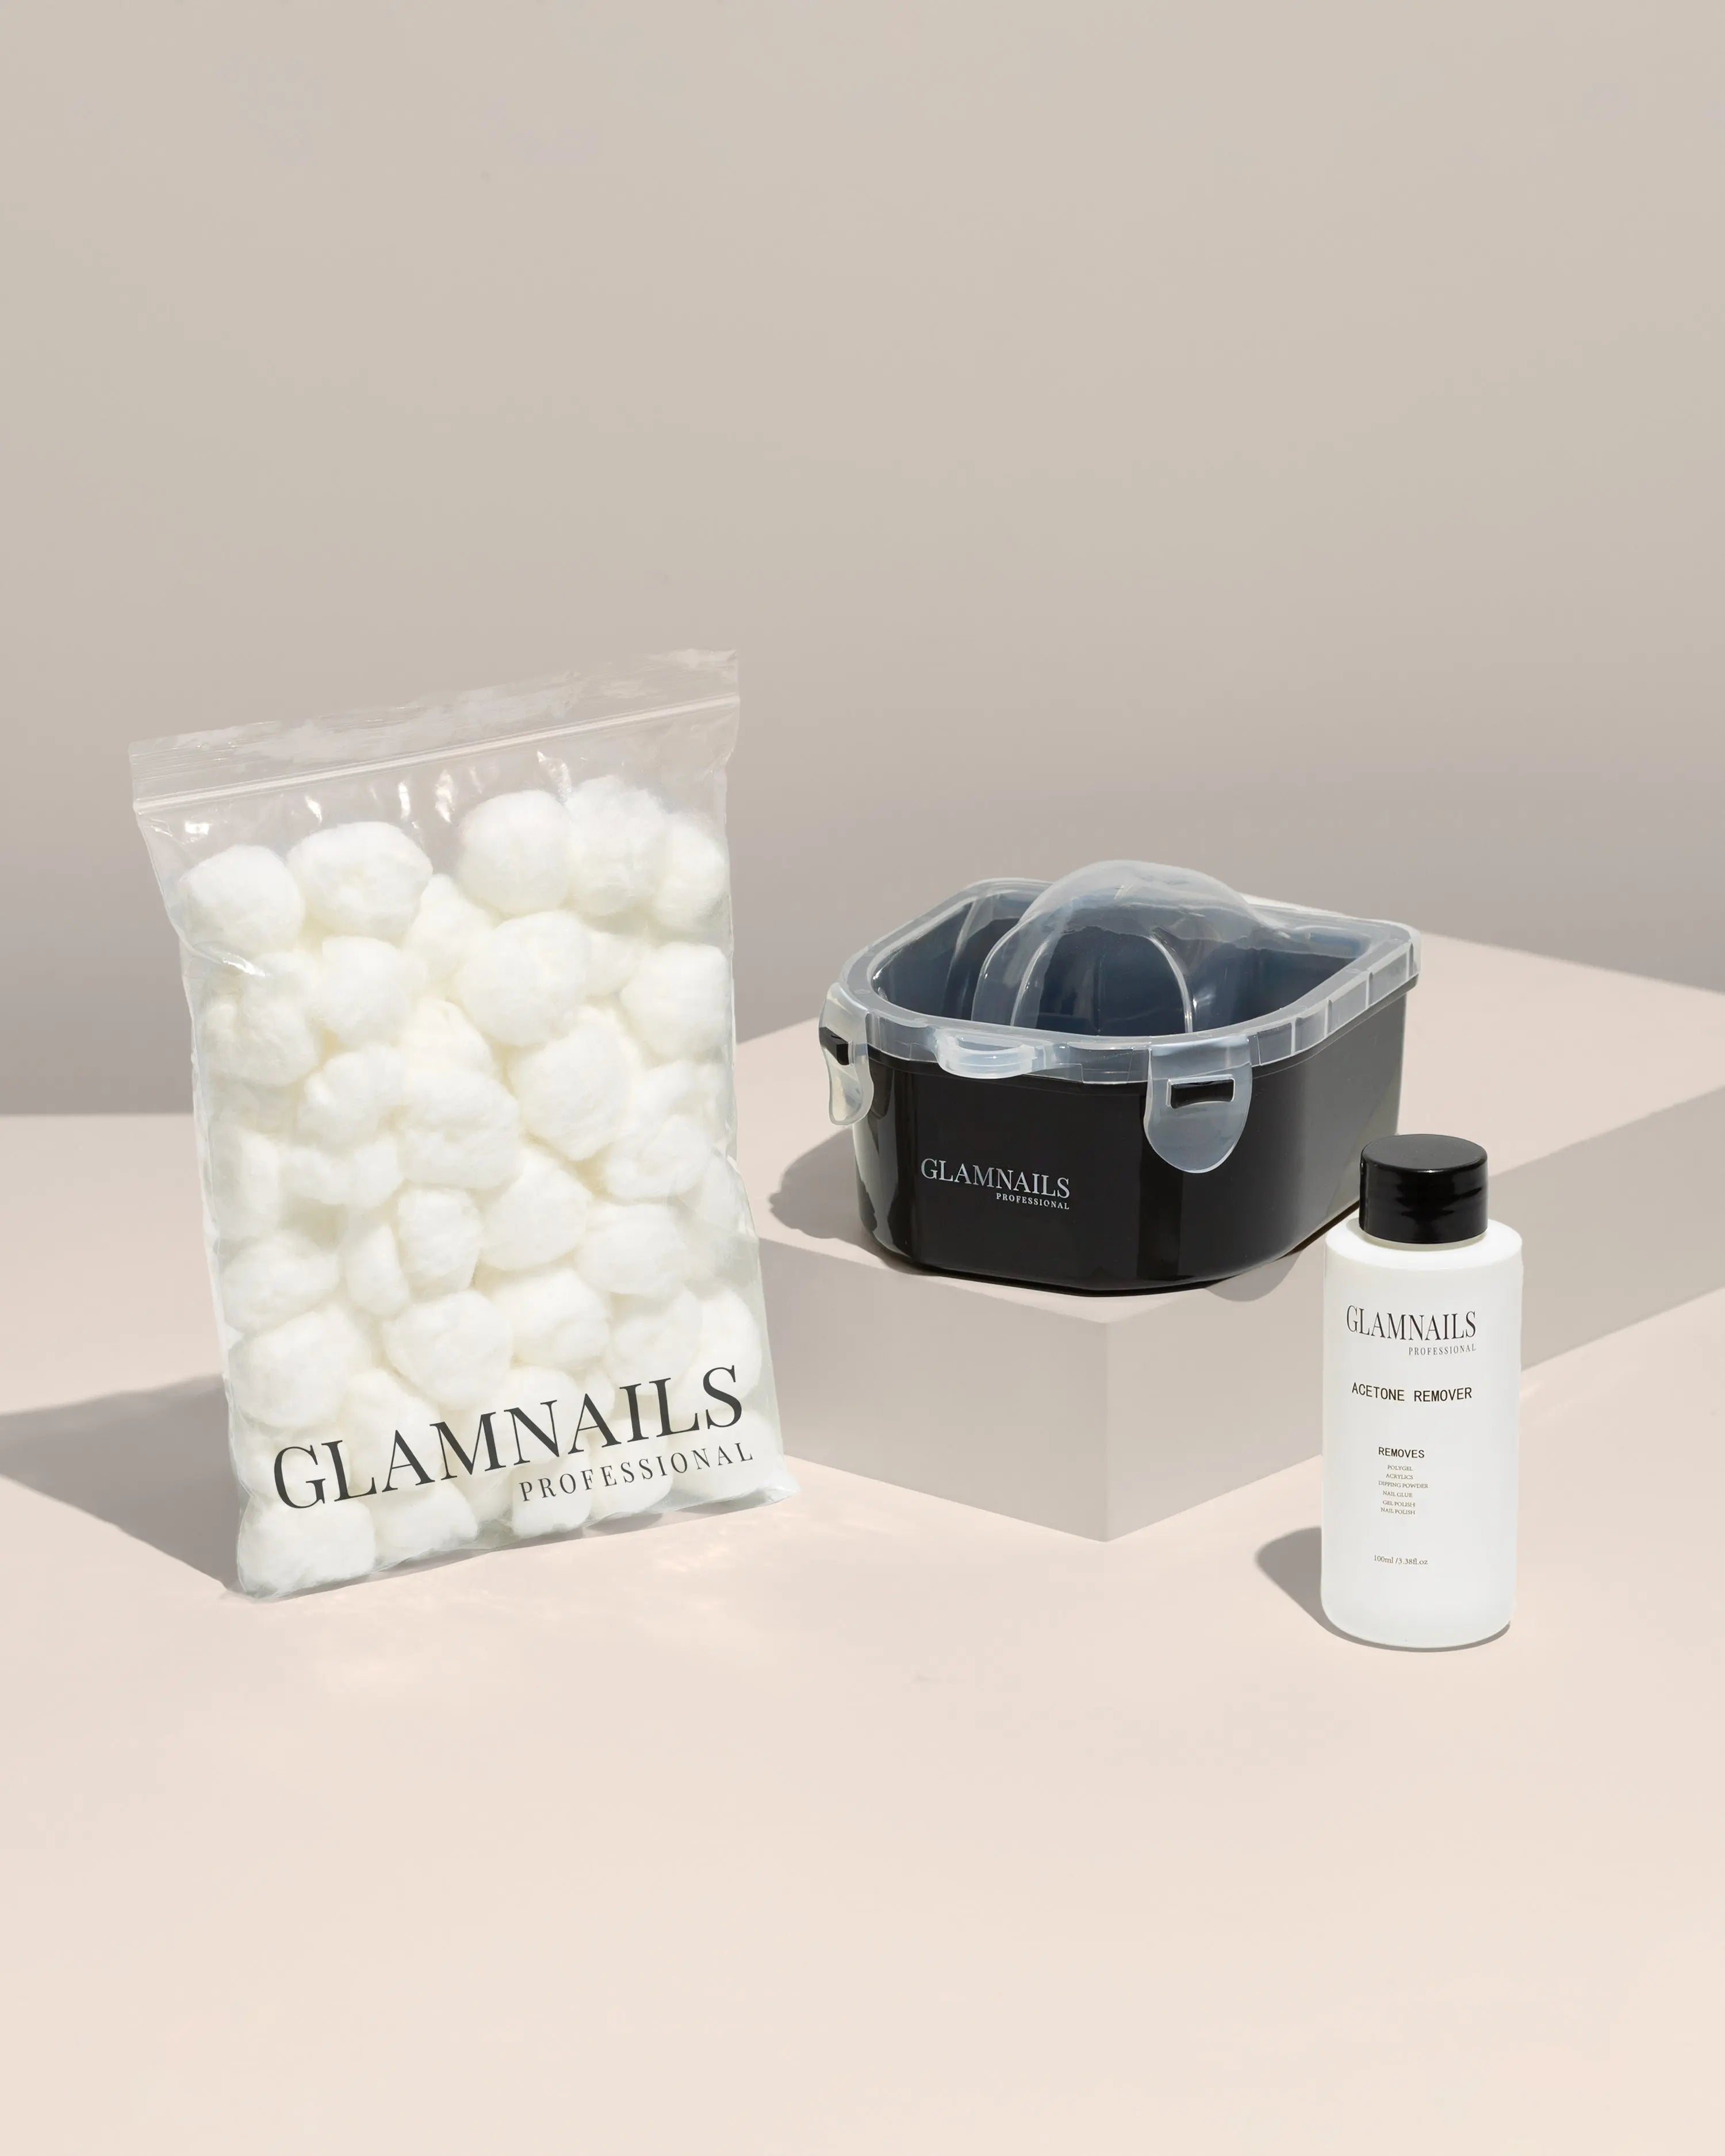
Now that you know how to apply polygel, it is also important to know how to remove it. Below you will find a step-by-step guide with and without the removal set.
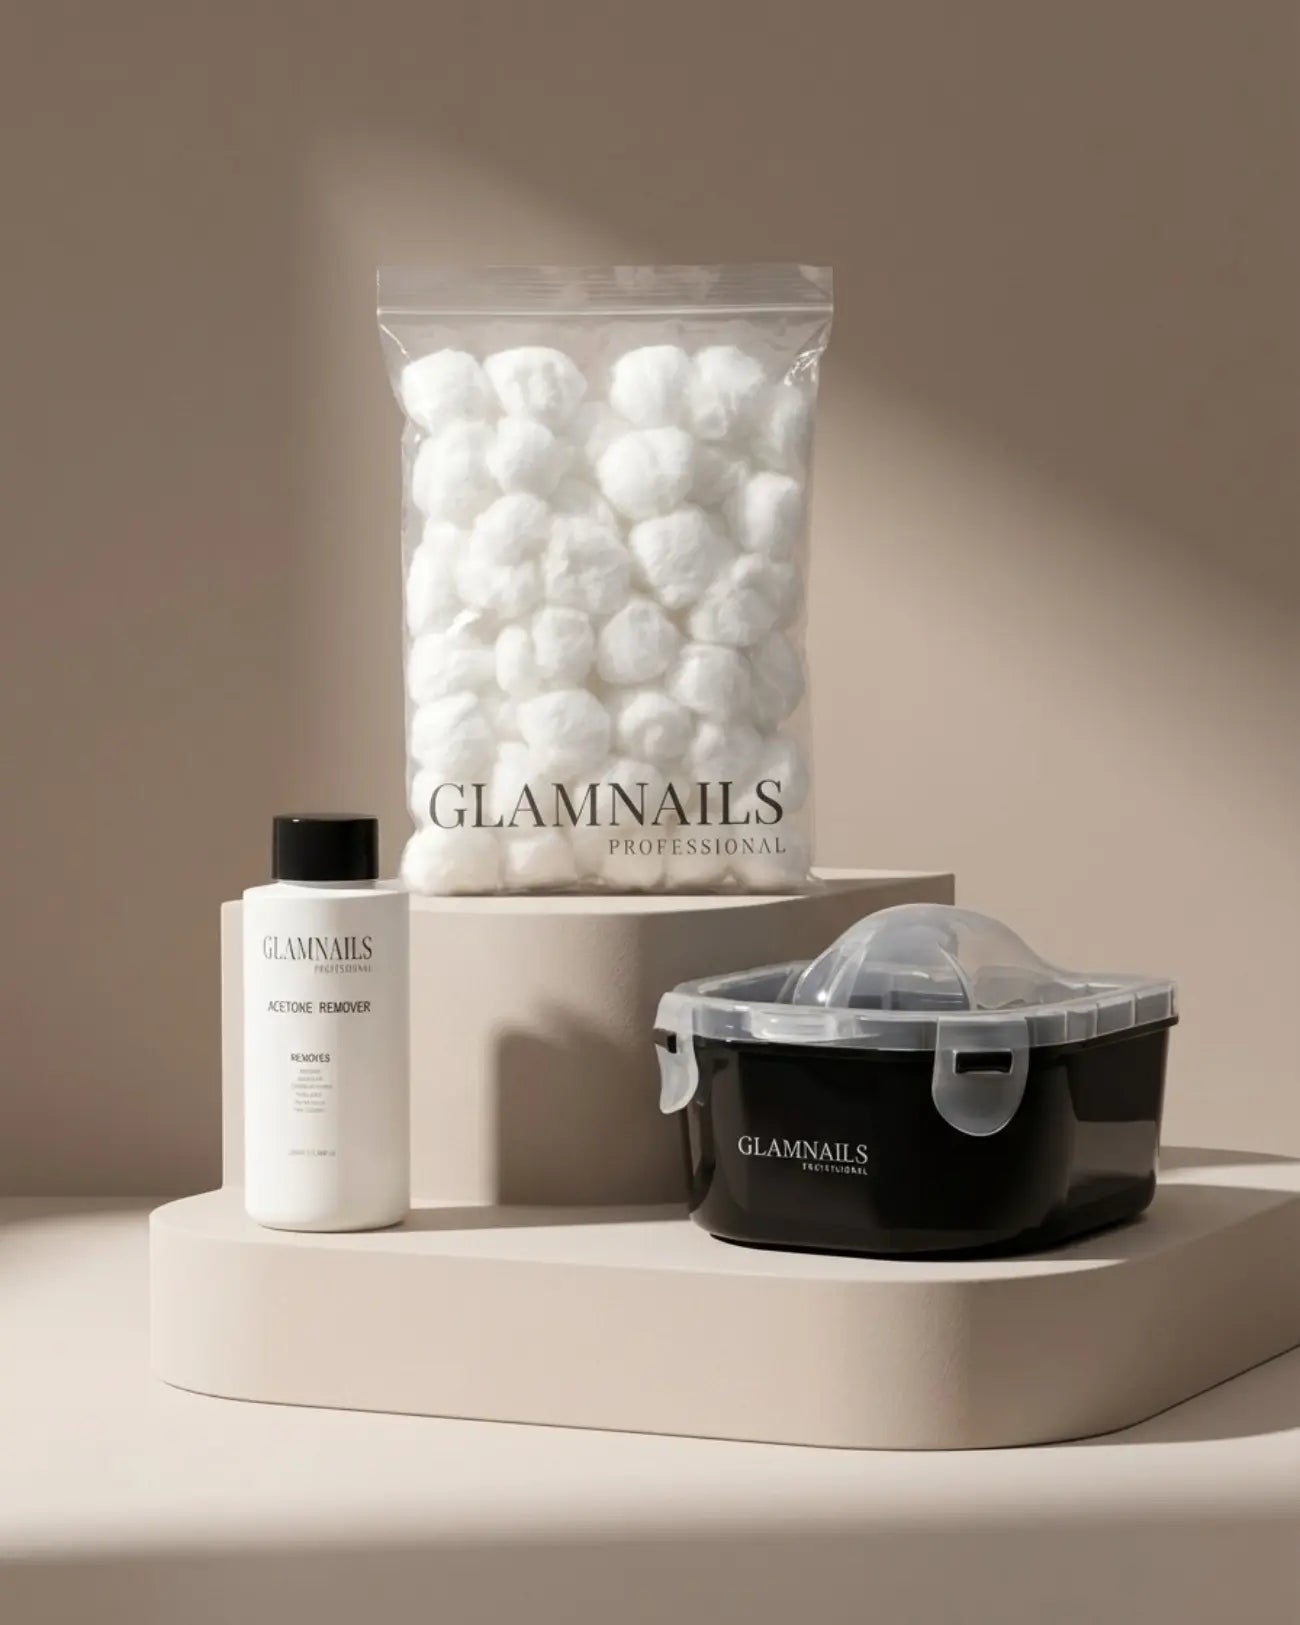
WITH THE REMOVAL SET:
Step 1: Preparation - First, carefully file off the top layer of your Polygel.
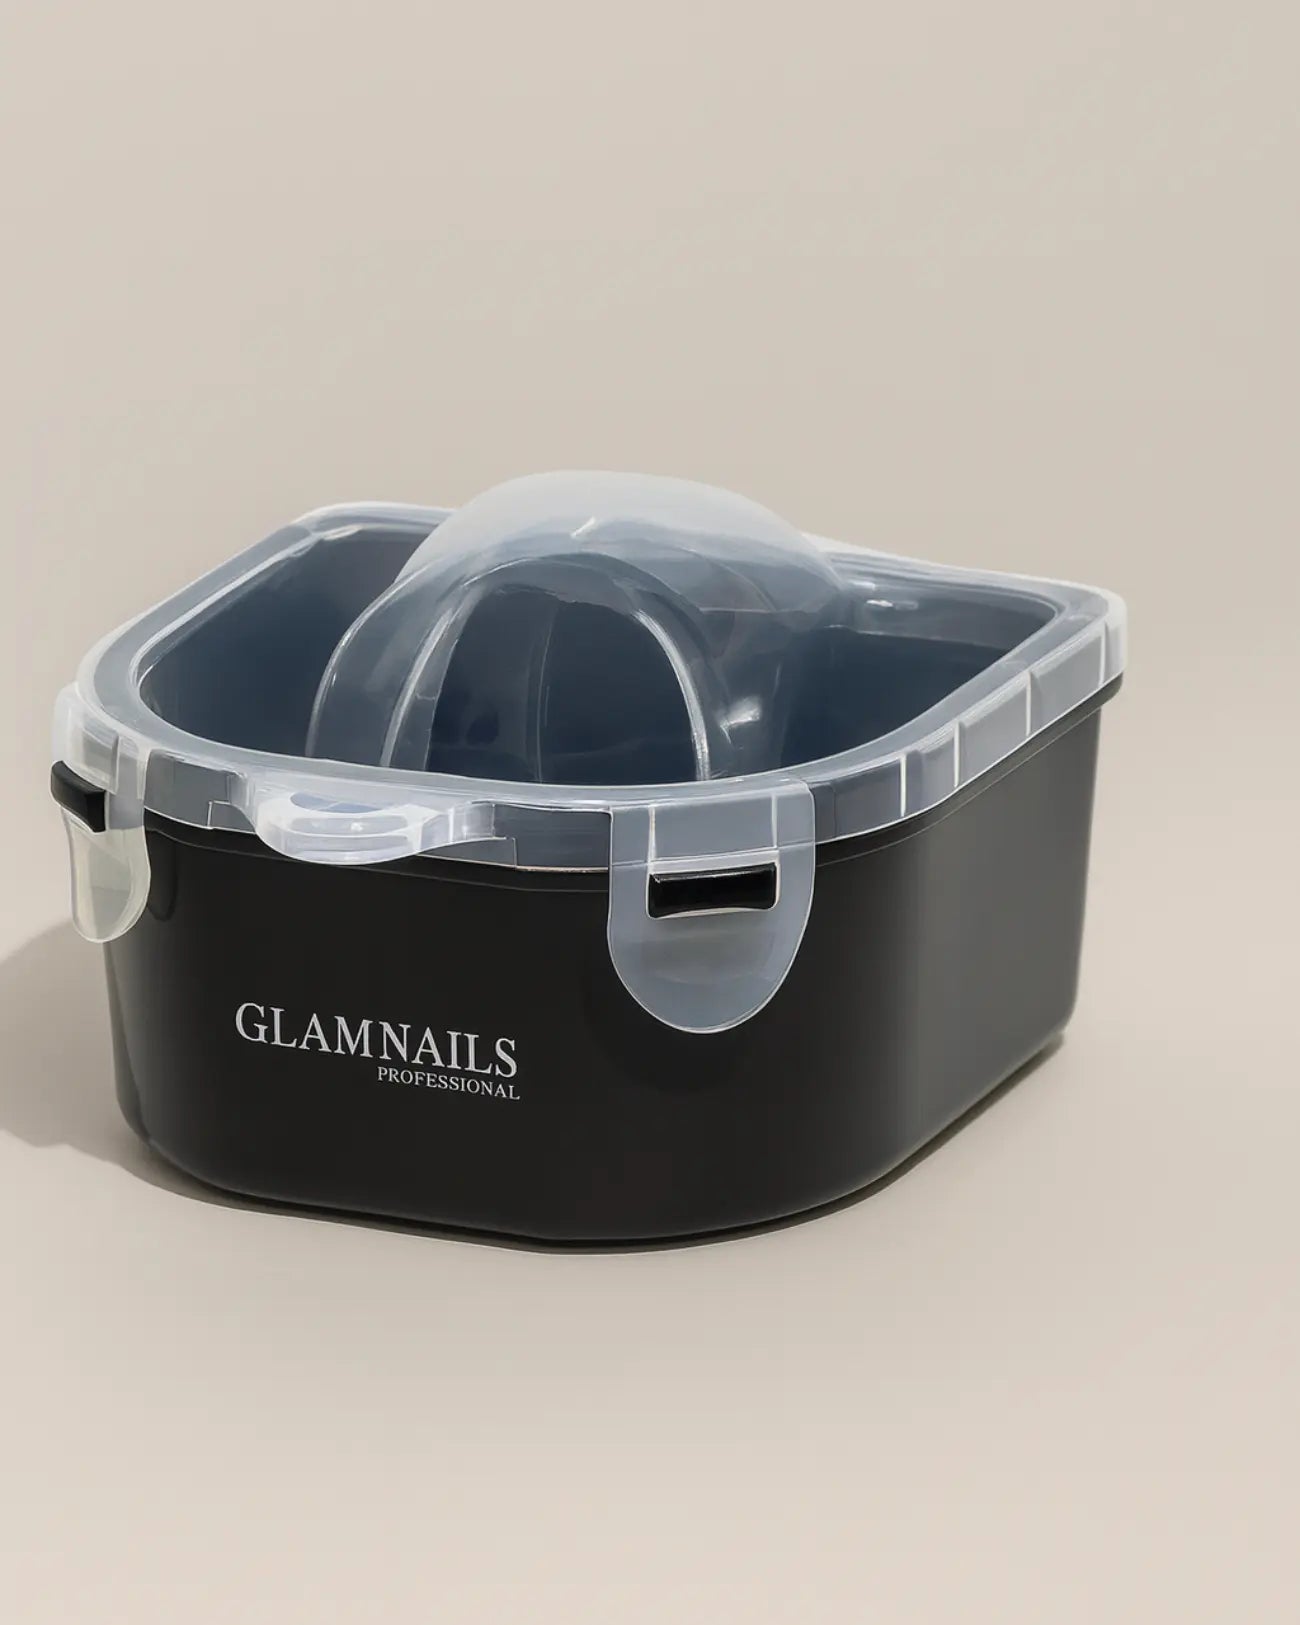
Step 2: Creating heat - Fill the black outer bowl with warm water (not boiling) and place the inner bowl with finger slots back inside.
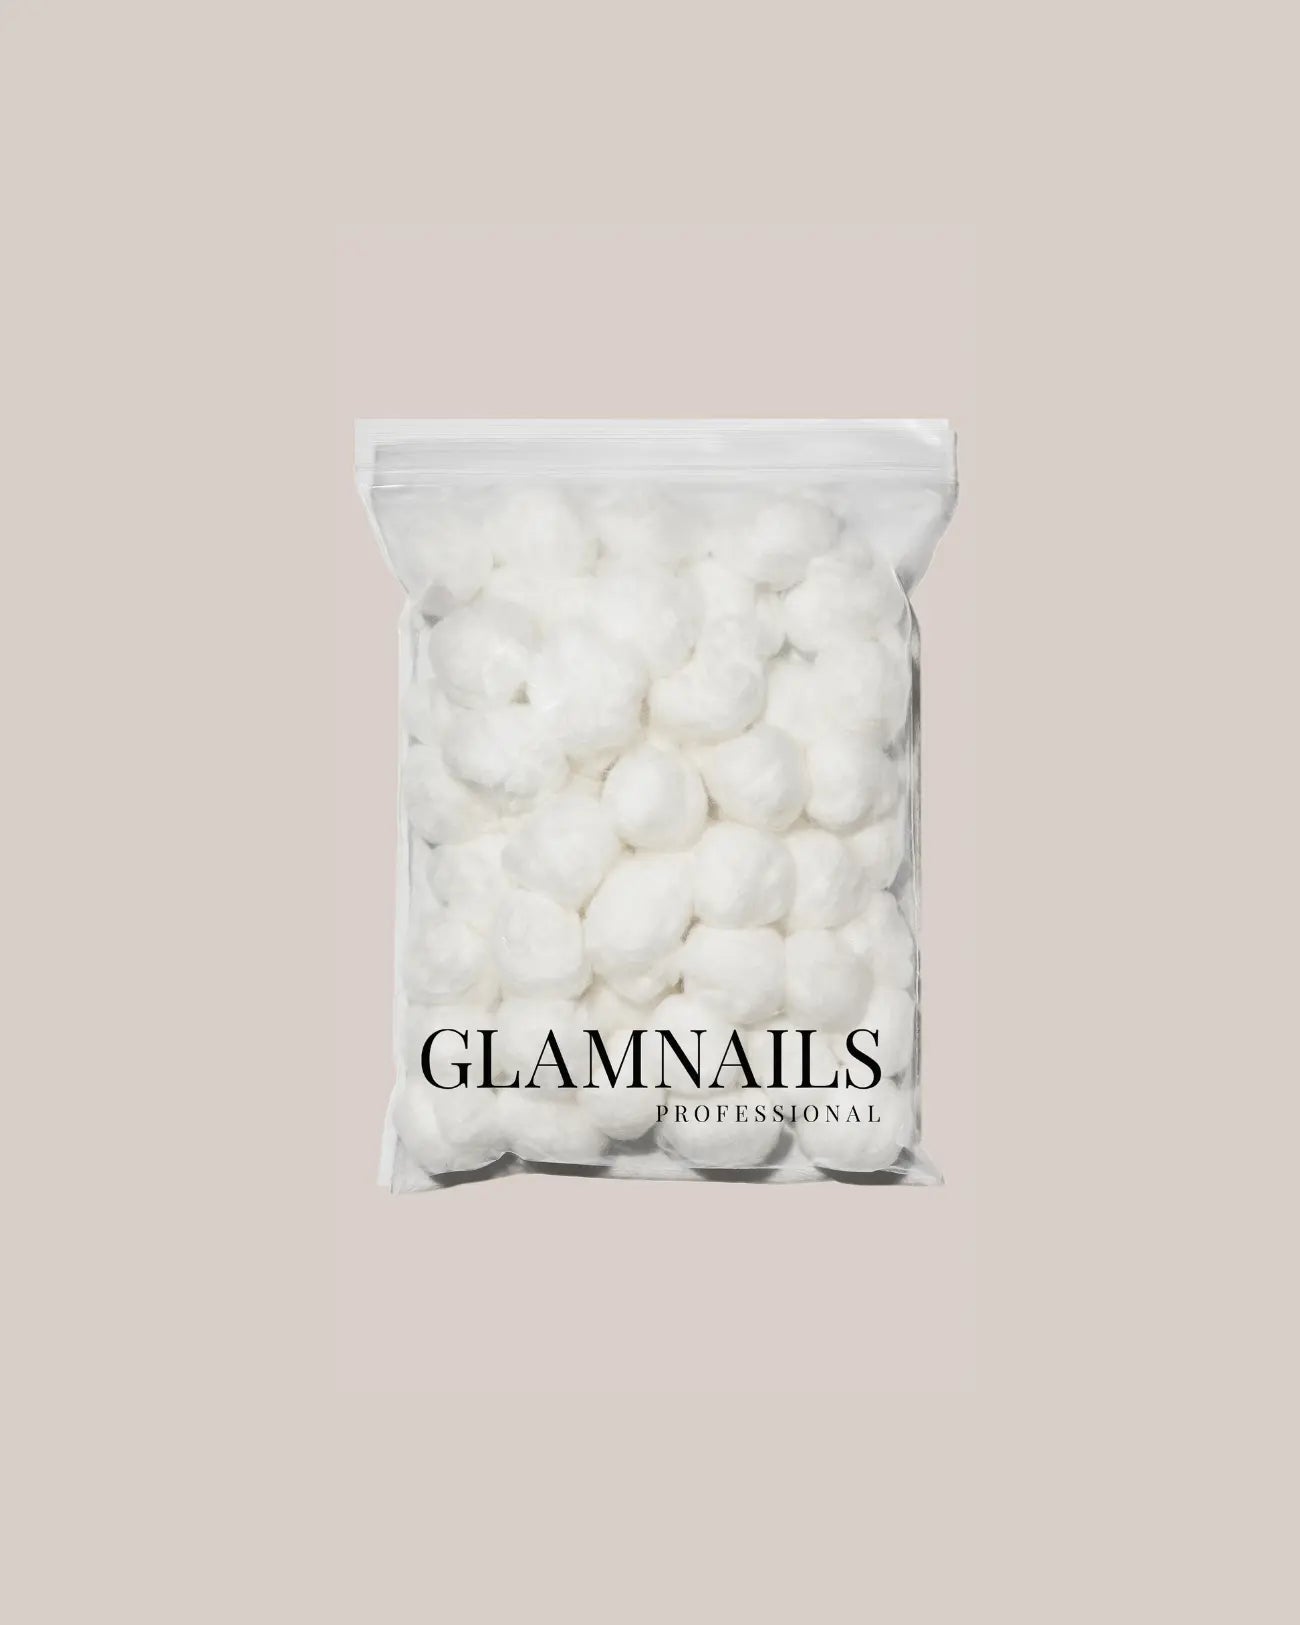
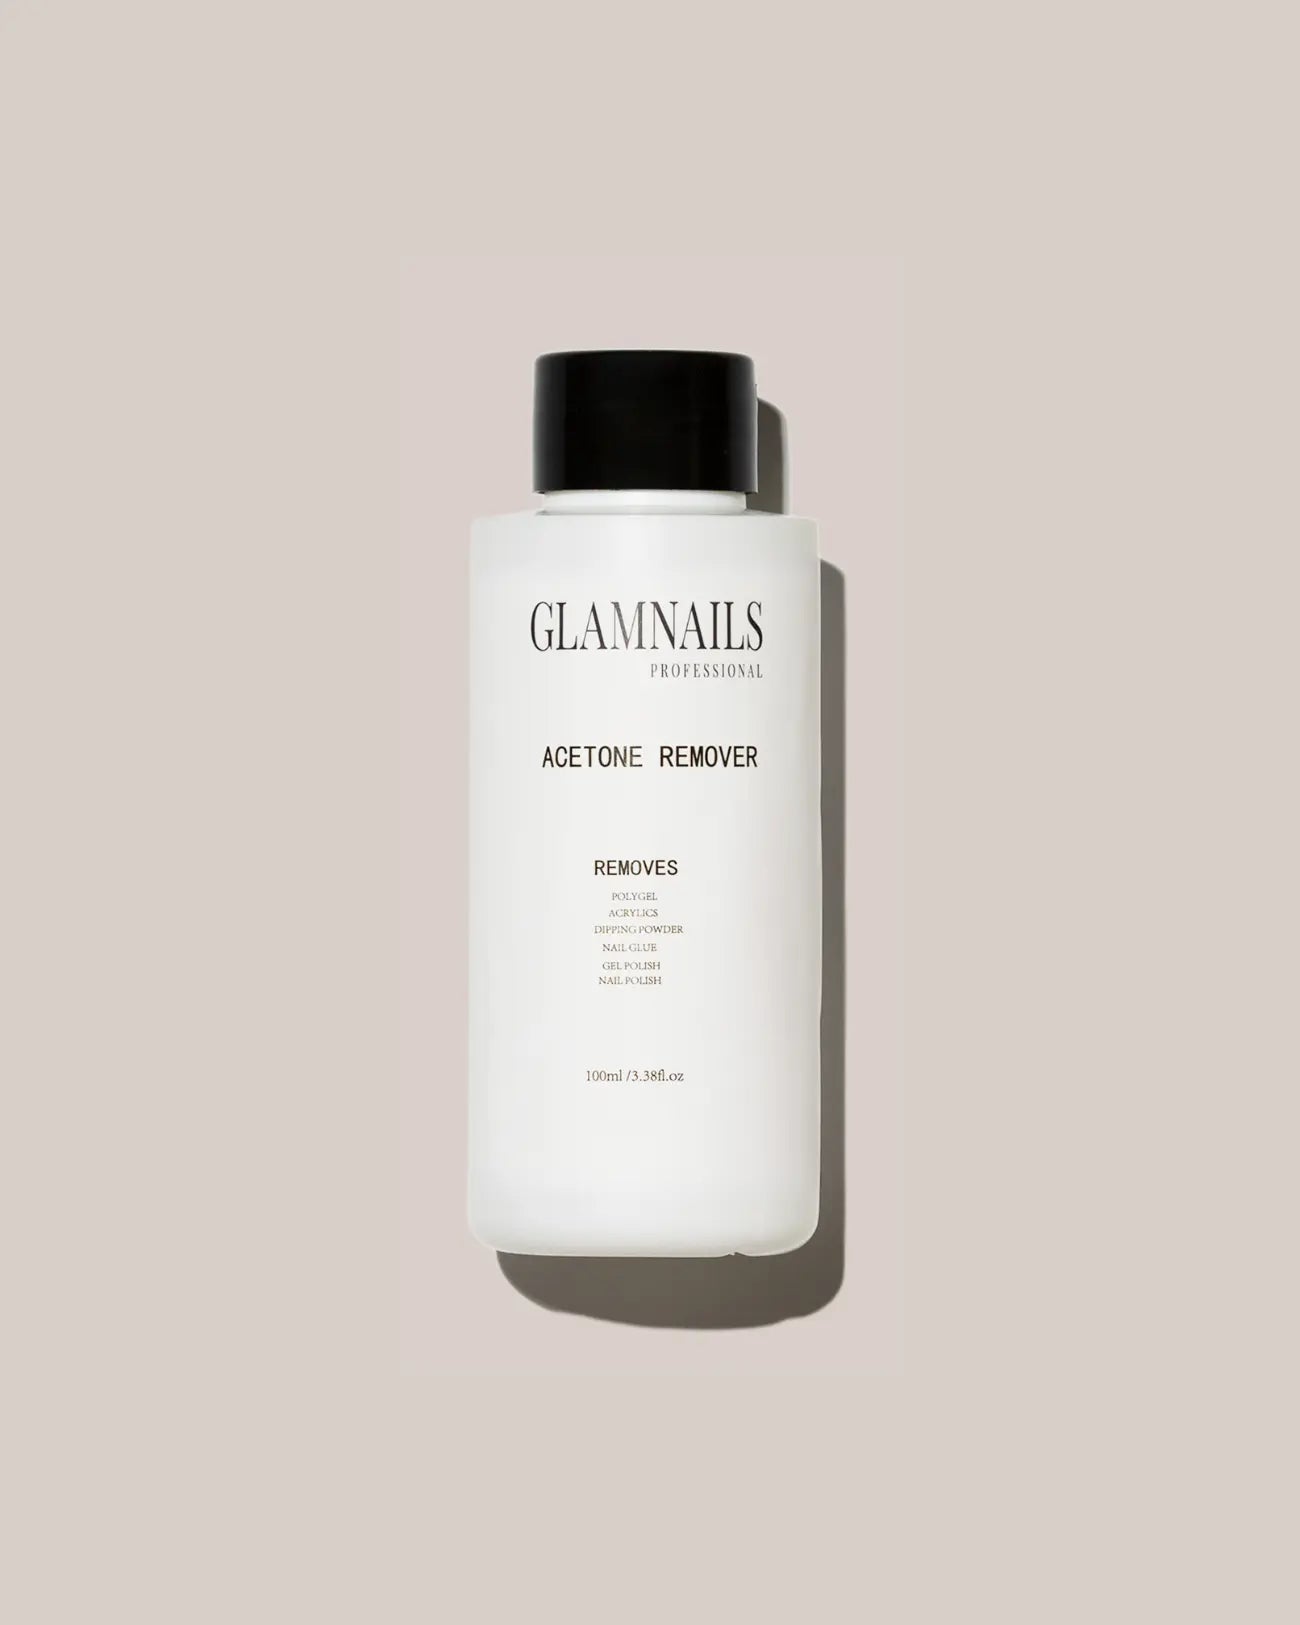
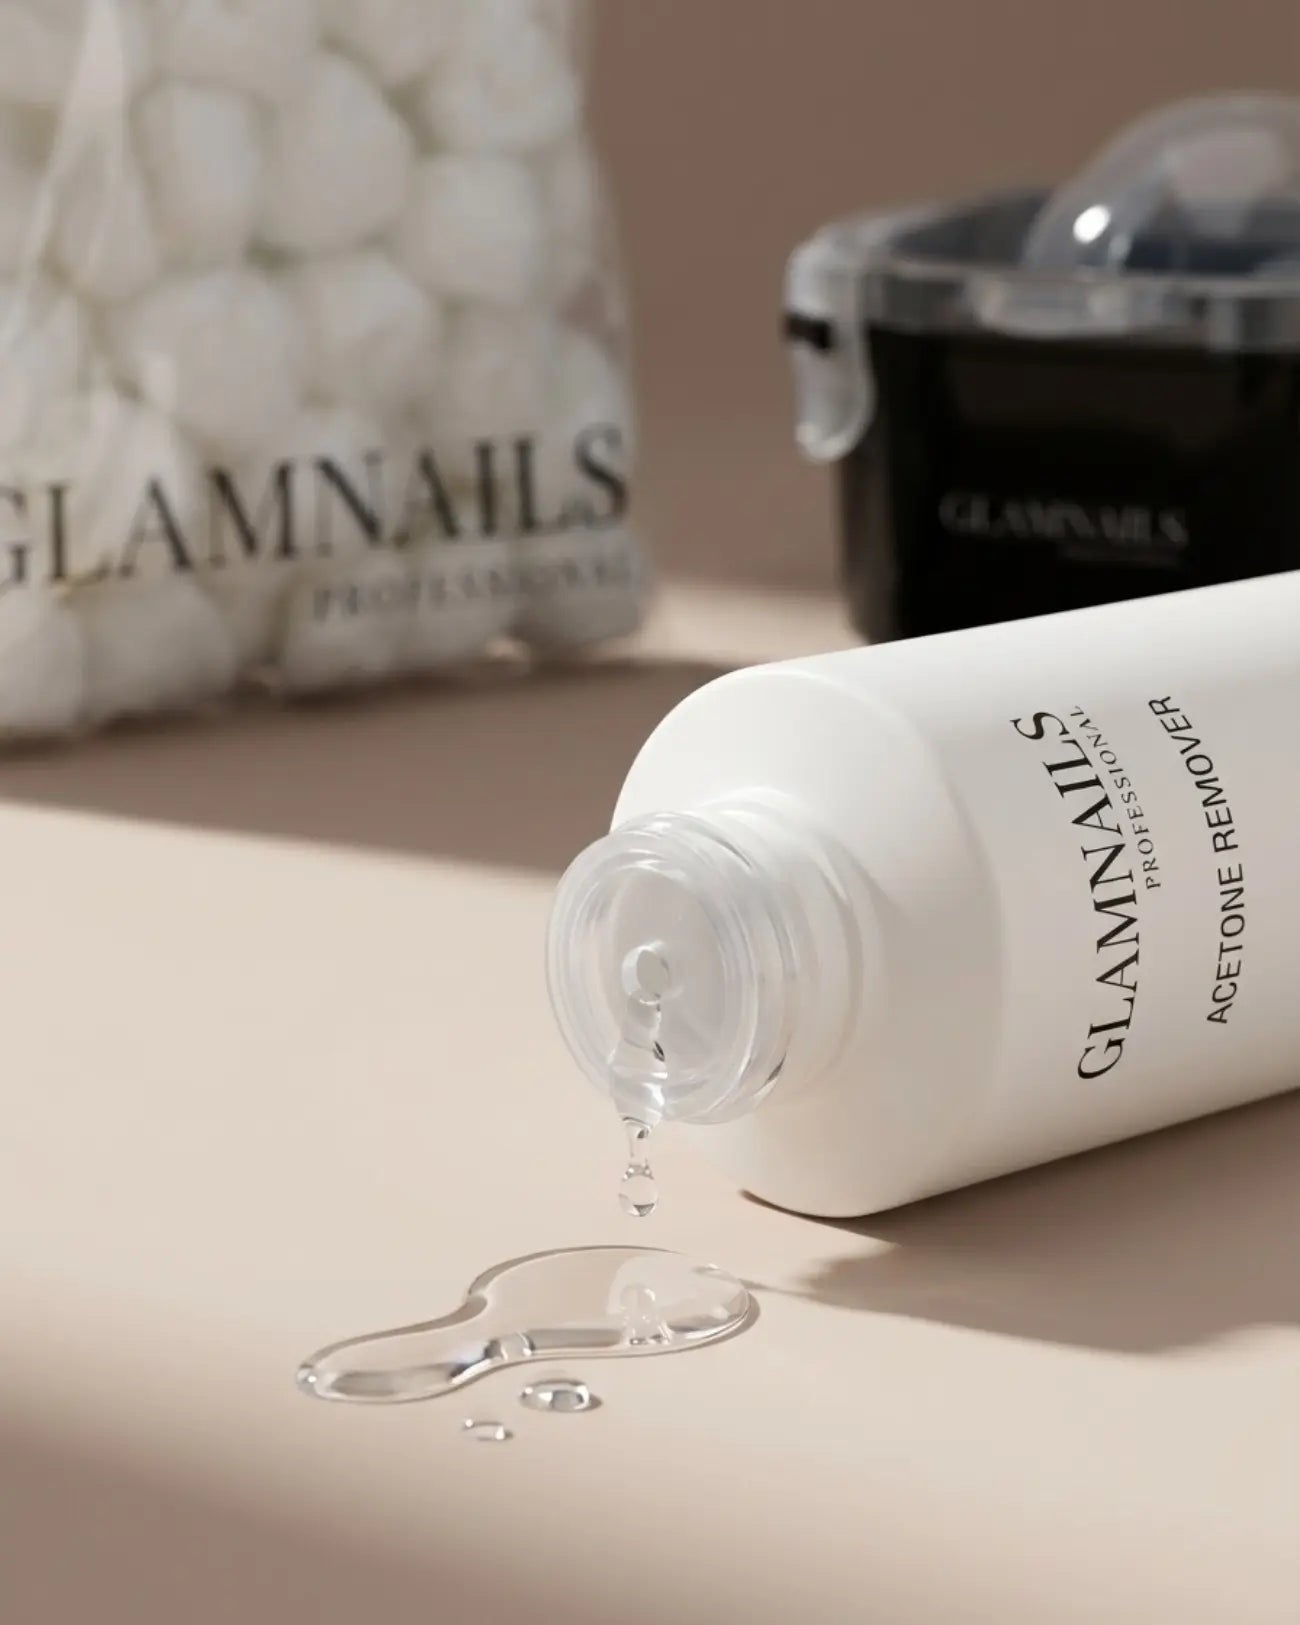
Step 3: Acetone & cotton balls - Soak the cotton balls in acetone and place them in each slot.
Step 4: Soak it off - Place your fingers in the bowl and gently move them over the cotton balls. Leave them to soak for 10-15 minutes.
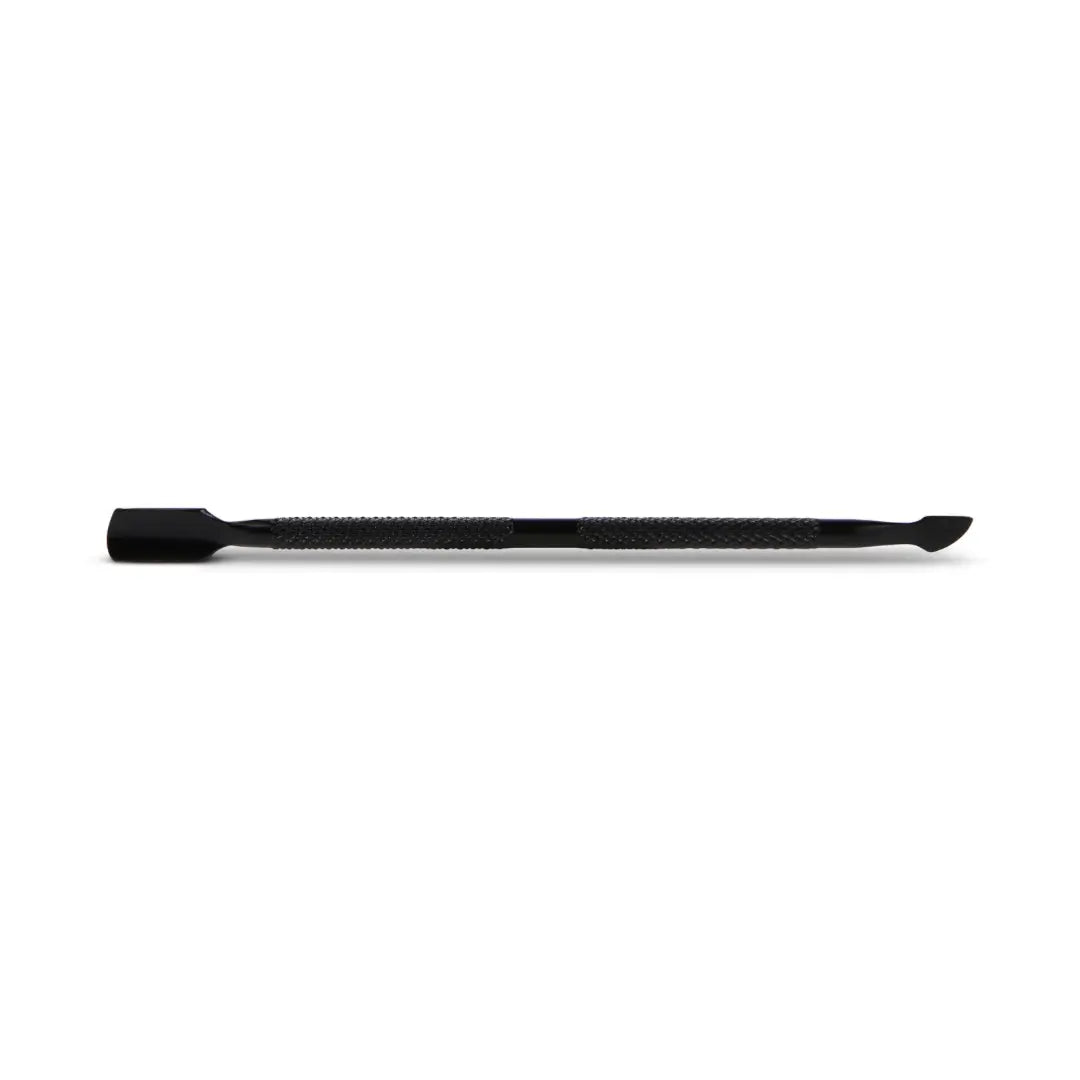
Step 5: Removal - Push away the softened residue with a cuticle pusher or file.
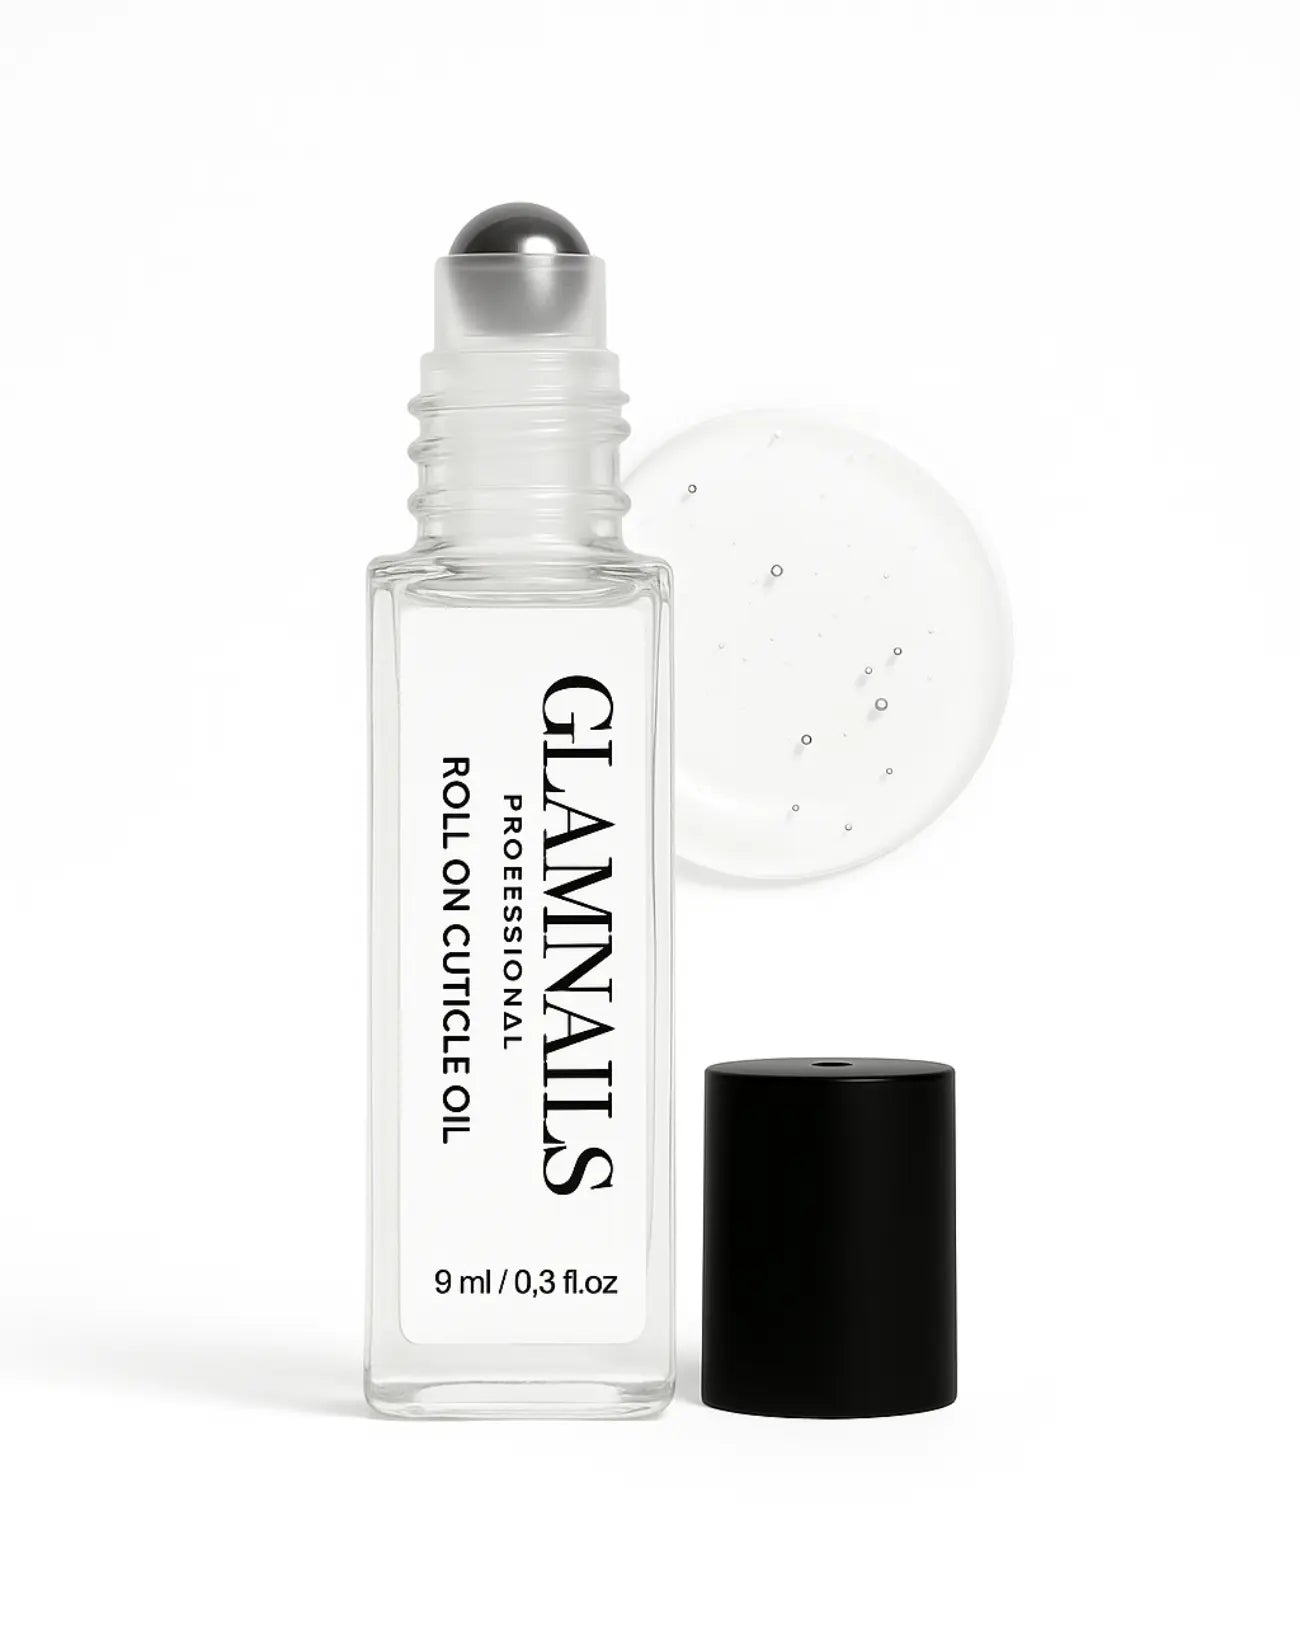
Step 6: Care - Finish with Glamnails Cuticle Oil for healthy, hydrated nails.
WITHOUT THE REMOVAL SET:
Step 1: File the top coat - Use a nail file to remove the top coat. This allows the acetone to penetrate the polygel more effectively.
Step 2: Soak the polygel - Soak a cotton pad in pure acetone and place it on your nail. Wrap your nail in aluminium foil and let it soak for approximately 10-15 minutes.
Step 3: Remove the polygel - After 10-15 minutes, you can remove the aluminium foil. Use the double-sided nail tool to push the softened polygel off your nails. Be careful and do not press too hard to avoid damaging the natural nail.
Step 4: File the nail - File off any remaining polygel and shape your nails as desired.
Apply petroleum jelly to the cuticles beforehand to protect them from the drying effect of the acetone. After the removal process, it is important to care for your nails properly with a nourishing cuticle oil to keep them in top condition.
Have questions or need further advice? Feel free to send us a message!
We will help you until you are 100% satisfied.